Table Of Contents:
- Key Takeaways
- Refresh Your Walls With a New Coat of Paint
- Choose the Perfect Color Scheme for Your Room
- Prep Your Walls for a Smooth Paint Application
- Apply Paint Evenly for Professional Results
- Update Your Lighting Fixtures for Instant Ambiance
- Select Energy-Efficient Bulbs and Fixtures
- Install New Light Fixtures Safely and Properly
- Utilize Accent Lighting to Highlight Features
- Revamp Your Furniture With Simple DIY Techniques
- Reupholster Chairs and Sofas for a Fresh Look
- Paint or Stain Wooden Furniture to Modernize
- Add Decorative Hardware to Enhance Style
- Enhance Your Space With Creative Wall Decor
- Create a Gallery Wall With Personal Photos
- Hang Mirrors to Make Rooms Appear Larger
- Incorporate Shelving for Function and Display
- Improve Storage Solutions for a Clutter-Free Home
- Organize Closets With Shelves and Bins
- Install Pegboards for Versatile Garage Storage
- Utilize Under-Bed Space With Storage Containers
- Boost Curb Appeal With Outdoor DIY Projects
- Plant a Low-Maintenance Garden
- Refresh Your Front Door With a New Color
- Add Outdoor Lighting for Safety and Beauty
- Conclusion
Is your home feeling stale and uninspired? Transform your space with easy DIY makeovers that won’t break the bank. This guide will show you how to refresh your walls, update lighting, and revamp furniture using simple techniques. With achievable projects, you’ll learn to enhance your home’s ambiance, improve storage, and boost curb appeal. These tips will create a more inviting living space and potentially increase your home’s value. Whether you want to upcycle old items or add new stainless steel accents, these DIY ideas will help you breathe new life into your home.
Key Takeaways
- Refreshing walls with new paint is a cost-effective way to transform a space
- Proper wall preparation is crucial for achieving a smooth paint application
- Energy-efficient lighting options can enhance both aesthetics and functionality in home improvements
- Reupholstering furniture and adding decorative hardware can update living spaces affordably
- Creating low-maintenance gardens and adding outdoor lighting boost curb appeal and safety
Refresh Your Walls With a New Coat of Paint

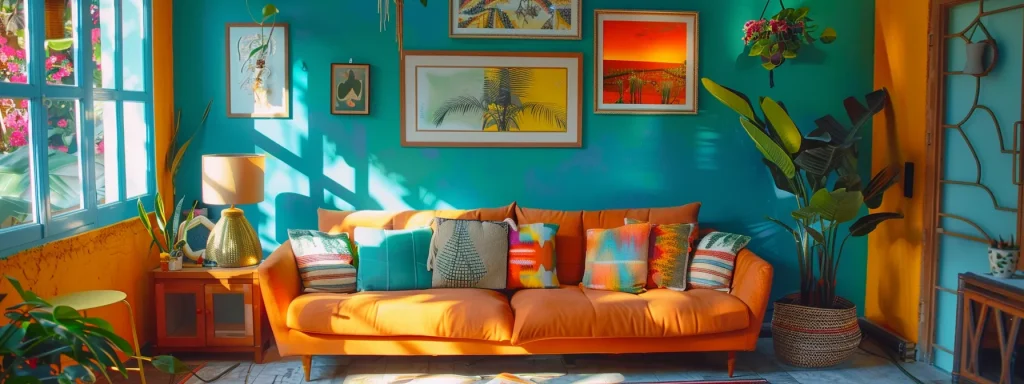
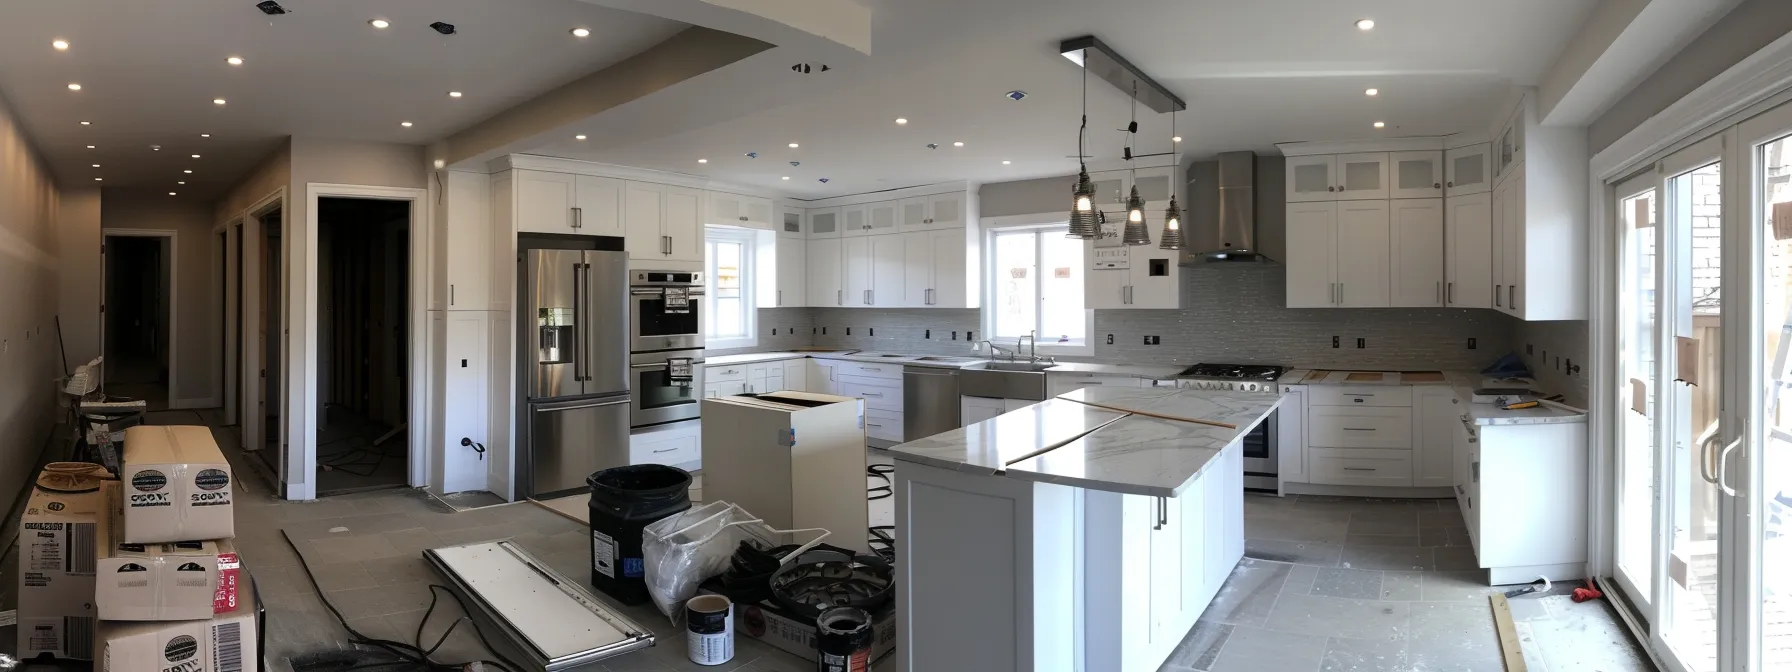
Refreshing walls with a new coat of paint is a cost-effective home improvement project like kitchen renovations. This section covers selecting the ideal color scheme, preparing walls for smooth application, and applying paint evenly for professional results. With the right tools and techniques, homeowners can transform their space without spending excessive money. Before-and-after photos can showcase the dramatic impact of a well-executed paint job.
Choose the Perfect Color Scheme for Your Room
The perfect color scheme for a room, especially in kitchen renovations, is crucial in any DIY renovation project. When choosing paint colors, homeowners should consider the room’s purpose, natural lighting, and existing furnishings. A well-chosen palette can dramatically transform the space, creating the desired atmosphere and enhancing the overall aesthetic.
To begin the color selection process for kitchen renovations, individuals can gather inspiration from various sources, such as interior design magazines, online platforms, or nature. It’s important to test potential colors by applying sample swatches to the walls and observing how they appear under different lighting conditions throughout the day. This step helps ensure the chosen colors complement the room’s existing elements and achieve the desired effect.
When renovating multiple rooms, such as kitchen renovations, it’s essential to consider how the color schemes will flow together. Coordinating colors between adjacent spaces creates a cohesive look throughout the home. By carefully selecting and implementing the perfect color scheme, homeowners can achieve a professional-looking DIY renovation that refreshes their living space without needing extensive remodeling or expensive power tools.
Prep Your Walls for a Smooth Paint Application
Proper wall preparation is essential for smooth paint application in any room, including kitchen renovations. Homeowners should remove existing curtains, fixtures, or outlet covers to ensure full wall access. This step allows for a thorough cleaning and inspection of the surface.
Once the walls are transparent, it’s time to address any imperfections. Filling holes, cracks, or dents with spackling compounds and sanding them smooth creates an even surface for painting. For those interested in woodworking, this is an opportunity to repair or replace damaged baseboards or trim before painting begins.
The final preparatory step involves priming the walls. Primer helps the paint adhere better and provides a uniform base, especially when transitioning from dark to light colors. DIY enthusiasts should ensure proper ventilation during this process and be mindful of electrical outlets and switches while working near them.
Apply Paint Evenly for Professional Results
Applying paint evenly is crucial for achieving professional results in home renovation projects. DIY enthusiasts should use high-quality rollers and brushes appropriate for their wall texture. Starting from the top of the wall and working downwards helps maintain consistency and prevents drips.
Painters should use the “W” technique when rolling paint to ensure even coverage. This method involves creating a large “W” shape on the wall and then filling it with horizontal strokes. Overlapping each section slightly prevents visible lines or patches in the finished product.
Maintaining a “wet edge” while painting is essential for a flawless finish. This technique keeps the previously painted area wet as one moves along the wall, allowing for seamless blending. Multiple thin coats often yield better results than one thick layer in DIY home improvement projects:
The fresh paint transformed the room. But something was still missing: the right light to bring it all together.
Update Your Lighting Fixtures for Instant Ambiance
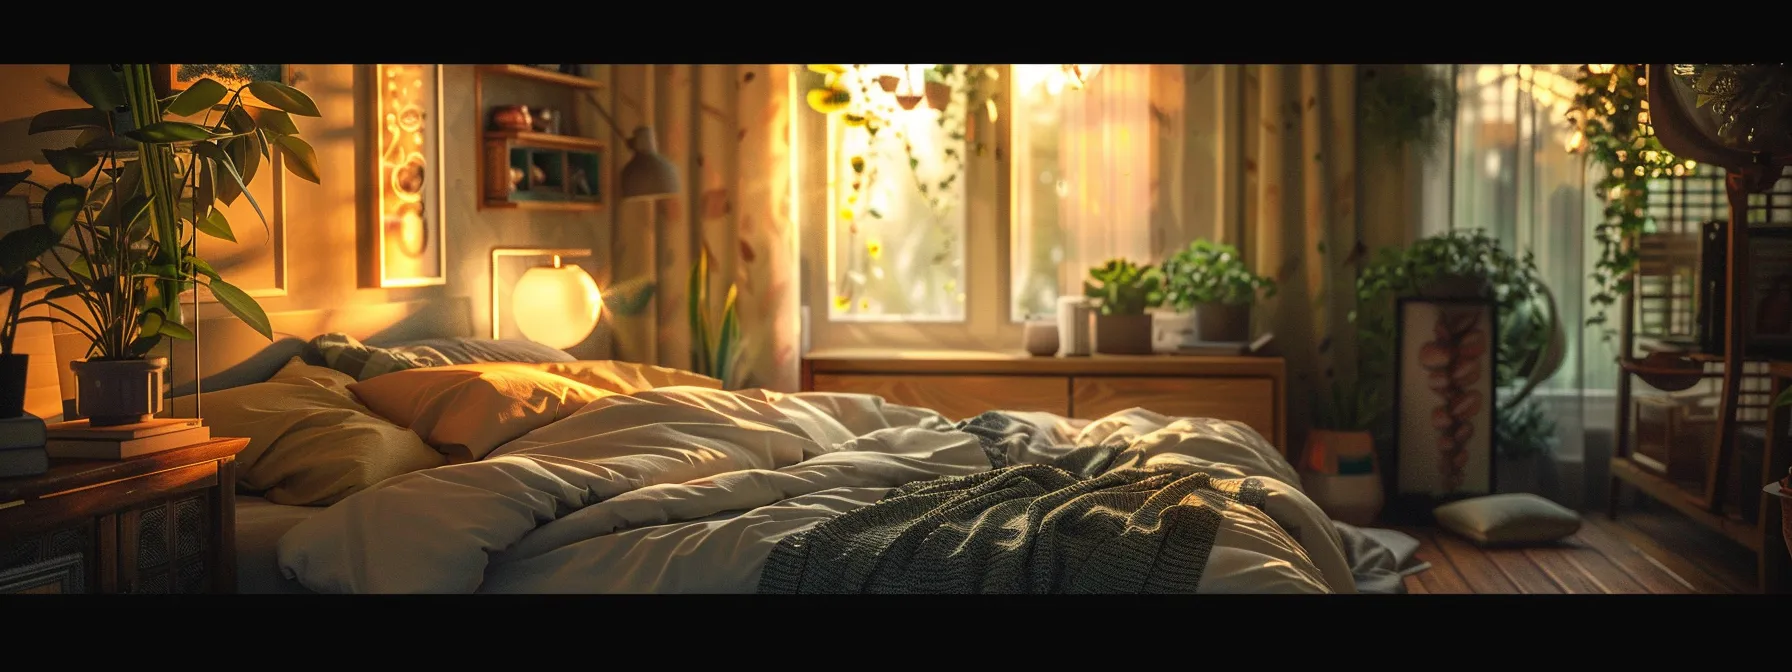
Updating lighting fixtures offers an instant home improvement solution, enhancing aesthetics and functionality. This section covers selecting energy-efficient options, safe installation techniques, and utilizing accent lighting to highlight room features. These DIY home projects can transform bedrooms and other spaces, improving ambiance and security without extensive renovations or new furniture.
Select Energy-Efficient Bulbs and Fixtures
Selecting energy-efficient bulbs and fixtures is crucial in updating lighting for home improvement projects. LED bulbs offer significant energy savings and longevity compared to traditional incandescent options. Homeowners can reduce their carbon footprint and lower electricity bills by choosing fixtures designed for optimal energy efficiency.
When selecting new lighting fixtures, consider options that complement existing flooring and interior design elements. Energy-efficient pendant lights or recessed fixtures can provide ample illumination while enhancing the room’s aesthetic appeal. These choices work well in various spaces, from the garage to living areas, offering versatility in home makeovers.
Smart lighting systems integrate energy efficiency with convenience, allowing homeowners to control brightness and color temperature. These systems can be programmed to adjust based on time of day or occupancy, optimizing energy use and comfort. By incorporating innovative technology, homeowners can create a more efficient and comfortable environment, whether managing heat in summer or creating a cozy atmosphere during leaf-raking season:
Install New Light Fixtures Safely and Properly
Installing new light fixtures safely and properly is crucial for any home makeover project. Homeowners should always turn off the main power supply before starting work on any electrical components. This precaution is essential when working in areas exposed to water, such as bathrooms or outdoor patio spaces.
When replacing ceiling fixtures, checking the electrical box’s weight capacity is essential to support the new fixture. A new, sturdy electrical box may be necessary for heavier chandeliers or pendant lights. This step is vital for maintaining the safety and integrity of the house’s electrical system.
Proper wiring connections are critical for the safe operation of new light fixtures. Homeowners should carefully follow manufacturer instructions and local building codes when connecting wires. For complex installations or when uncertain about the process, it’s advisable to consult a professional electrician. Here are the critical steps for safe light fixture installation:
- Turn off power at the circuit breaker
- Remove old fixtures and inspect wiring
- Install mounting bracket if necessary
- Connect wires according to instructions
- Secure fixture to ceiling or wall
- Install light bulbs and test functionality
Utilize Accent Lighting to Highlight Features
Accent lighting is a powerful tool for highlighting specific features in a room, creating depth and visual interest. Homeowners can use strategically placed lights to draw attention to artwork, architectural elements, or prized possessions. For example, small LED spotlights in the living room can illuminate a photo gallery wall, adding a sophisticated touch to the space.
Accent lighting transforms outdoor spaces into enchanting nighttime retreats. Low-voltage landscape lights can illuminate pathways, highlight specimen plants, or create dramatic shadows on walls. This approach enhances the aesthetic appeal, improves safety, and extends the usability of outdoor areas after dark.
When implementing accent lighting, it’s crucial to consider the interplay of light and shadow. Homeowners should experiment with different angles and intensities to achieve the desired effect. Regular maintenance, including dusting fixtures and adjusting positioning, ensures that accent lighting continues to enhance the room’s features effectively over time.
The new lights cast a warm glow. Now, let’s turn our attention to the furniture.
Revamp Your Furniture With Simple DIY Techniques
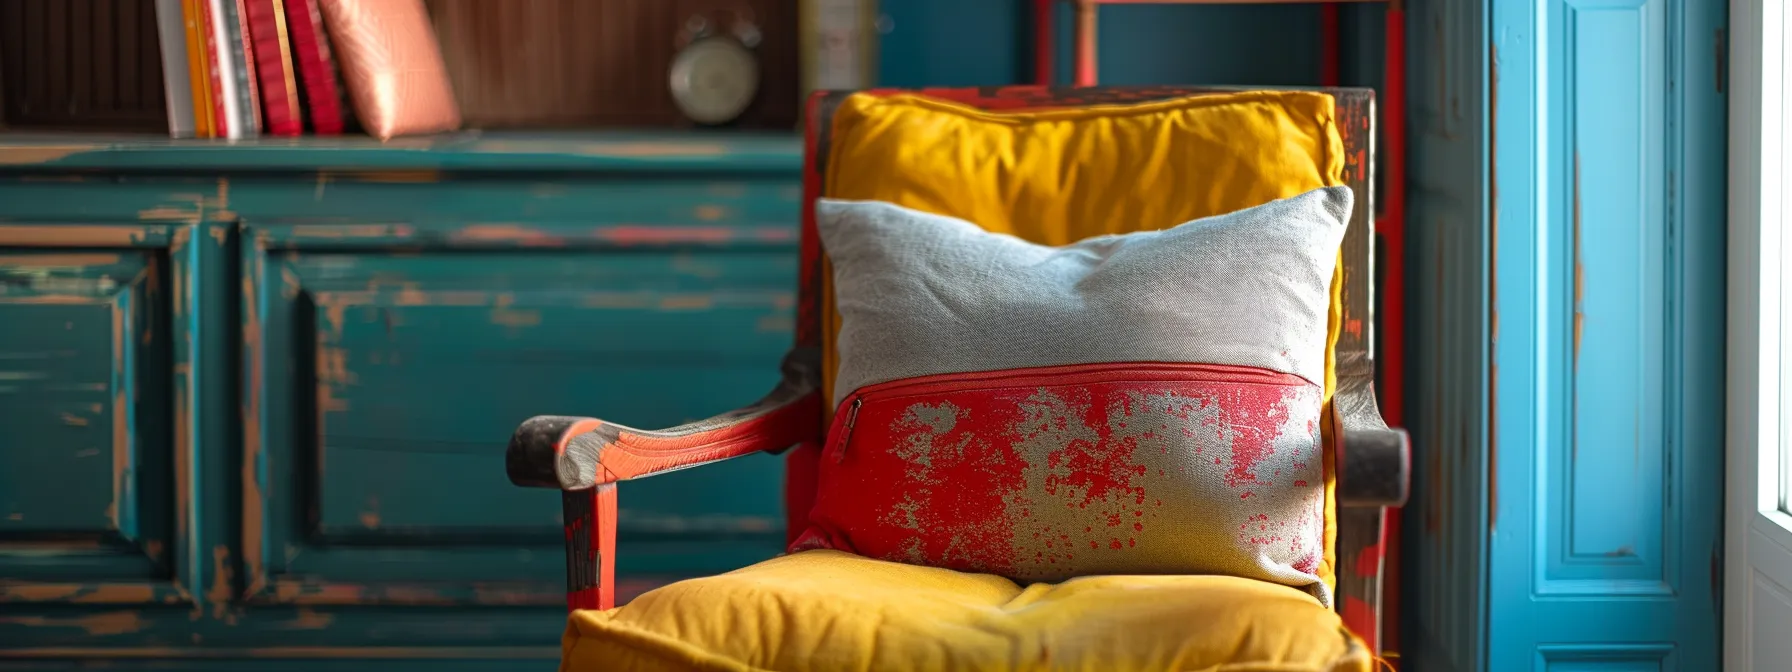
Revamping furniture with simple DIY techniques offers an affordable way to transform living spaces. This section explores reupholstering chairs and sofas, painting or staining wooden furniture, and adding decorative hardware. These methods can significantly enhance interior design without extensive home renovations, allowing homeowners to update their kitchen, shower area, or living room while minimizing debris and costs.
Reupholster Chairs and Sofas for a Fresh Look
Reupholstering chairs and sofas offers homeowners an effective way to refresh their living spaces without requiring extensive home additions. This DIY technique, often featured on HGTV, can transform worn-out furniture into stylish centerpieces. Individuals can achieve a cohesive look that rivals professional interior design projects by selecting new fabrics that complement existing decor.
Reupholstering involves removing old fabric, replacing worn padding, and securing new material over the furniture frame. Homeowners can find inspiration and guidance through various home improvement blogs, which often showcase Past Projects and provide step-by-step tutorials. This approach allows for customization and personalization, ensuring the revamped furniture aligns with the homeowner’s unique style and preferences.
Successful reupholstering projects often receive positive feedback, as evidenced by numerous “What Our Clients Say” testimonials from satisfied homeowners. The transformation can breathe new life into cherished pieces, preserving sentimental value while updating the overall aesthetic of a room. By embracing this DIY technique, individuals can create a fresh look for their living spaces without the expense of purchasing new furniture.
Paint or Stain Wooden Furniture to Modernize
Painting or staining wooden furniture offers an effective way to modernize spaces without extensive Commercial Renovations. Domilya Group recognizes the transformative power of this simple DIY technique, which can refresh outdated pieces and align them with contemporary design trends. Homeowners can significantly alter the look and feel of their living areas by updating wooden elements such as cabinetry or shelving units.
Selecting the right paint or stain color is crucial for achieving a modern aesthetic. Neutral tones like gray or white can create a sleek, minimalist appearance, while bold colors add a striking focal point to a room. When working with kitchen cabinetry or bathroom vanities, considering the existing countertop material helps ensure a cohesive design that enhances the overall space.
Proper preparation is critical to a professional-looking finish. Sanding the furniture, applying primer, and using high-quality brushes or rollers contribute to a smooth, durable result. For those seeking expert guidance, Domilya Group offers consultations to help homeowners choose the best materials and techniques for their furniture makeover projects, ensuring a successful transformation that complements their renovated spaces.
Add Decorative Hardware to Enhance Style
Adding decorative hardware is a cost-effective way to enhance the style of furniture and cabinetry, even in basement renovations. Homeowners can transform the look of dressers, cabinets, and built-in storage units by replacing standard knobs and pulls with more stylish options. This simple update can complement the overall design scheme of a room, tying together various elements like flooring and wall colors.
When selecting new hardware, it’s essential to consider the existing furniture style and the room’s design aesthetic. For a modern look in a bathroom, sleek chrome or brushed nickel handles can update a dated vanity without needing a complete bathtub renovation. In kitchens, vintage-inspired brass knobs can add character to plain cabinetry, enhancing the space’s appeal without straining the budget.
Installation of new hardware is typically a straightforward process that most homeowners can complete as a DIY project. However, it’s crucial to measure carefully and fill any existing holes if the new hardware doesn’t align with the old. For those undertaking a more extensive renovation, coordinating cabinet hardware with other metal finishes in the room creates a cohesive design:
Furniture revamped. Walls next. Fresh paint transformed the room. New lights cast a warm glow, revealing blank spaces ready for art.
Enhance Your Space With Creative Wall Decor
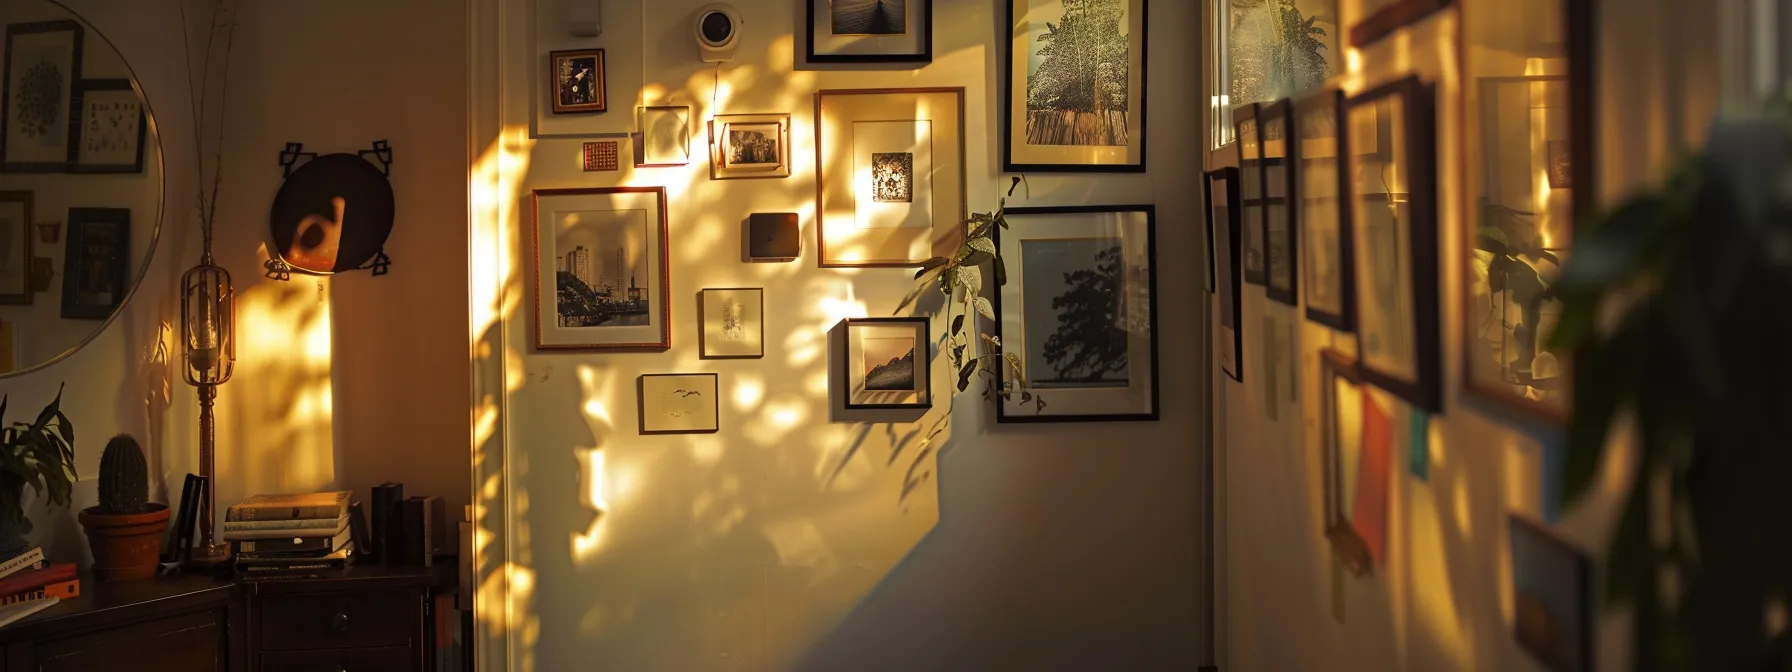
Creative wall decor can transform any space, from the kitchen to the dining room. This section explores three effective techniques: creating a gallery wall with personal photos, using mirrors to enhance room size, and incorporating functional shelving. These methods offer practical solutions for homeowners looking to refresh their interiors without extensive construction or altering cabinet layouts.
Create a Gallery Wall With Personal Photos
Creating a gallery wall with personal photos offers a unique way to enhance living spaces. Homeowners can showcase cherished memories while adding visual interest to stairs or hallways. By selecting frames that complement existing wood tones and color schemes, the gallery becomes an integral part of the home’s design.
When arranging photos, consider the overall composition and balance. Mixing frame sizes and orientations creates a dynamic display. For added interest, incorporate small mirrors or decorative glass pieces among the photos, reflecting light and adding depth to the arrangement.
To ensure a polished look, homeowners should plan the layout before hanging. Using paper templates helps visualize the final arrangement and makes installation easier. When hanging frames near sinks or in bathrooms, choose moisture-resistant materials to protect photos from humidity. A well-executed gallery wall transforms blank spaces into personalized art displays:
- Select a variety of frame styles and sizes
- Incorporate mirrors or glass elements for visual interest
- Plan layout using paper templates before hanging
- Use moisture-resistant materials in humid areas
- Ensure proper lighting to highlight the display
Hang Mirrors to Make Rooms Appear Larger
Hanging mirrors strategically can create the illusion of larger spaces, making them an essential tool for home makeovers. By reflecting light from windows or light fixtures, mirrors enhance the brightness of a room, contributing to an open and airy feel. Homeowners can maximize this effect by placing mirrors opposite energy-efficient windows or decorative light sources.
When positioning mirrors, consider reflecting attractive features like a fireplace or artwork to add depth and interest to the space. A full-length mirror can dramatically increase the perception of space in smaller rooms or narrow hallways. Choosing mirrors with moisture-resistant frames for bathrooms prone to mildew helps maintain a fresh appearance while expanding the visual space.
To optimize storage and enhance room size simultaneously, homeowners can incorporate mirrored surfaces into built-in cabinets or closet doors. This dual-purpose solution reflects light, expands the visual space, and provides practical storage options. By carefully selecting and placing mirrors, individuals can transform cramped areas into seemingly spacious and well-lit environments.
Incorporate Shelving for Function and Display
Incorporating shelving into a home makeover provides functional storage and attractive display options. Open shelving can showcase decorative dishes in a kitchen remodel while freeing cabinet space for less visually appealing items. Homeowners can install floating shelves made of hardwood to complement existing cabinetry and create a fresh, modern look.
Strategic placement of shelves can enhance lighting in a room. Installing shelves near windows allows natural light to illuminate displayed items, creating an inviting atmosphere. For bedrooms, wall-mounted shelves near the bed offer convenient storage for books and decorative objects while freeing up floor space.
Shelving units can serve as room dividers in open floor plans, providing storage and defining separate areas without blocking light. Homeowners can create a cohesive design throughout their living spaces by selecting shelving materials that match or contrast with existing hardwood floors. This approach combines functionality with aesthetic appeal, making it an ideal solution for various home improvement projects.
The walls now tell a story. But clutter speaks louder.
Improve Storage Solutions for a Clutter-Free Home

Improving storage solutions is essential for creating a clutter-free home. This section explores organizing closets with shelves and bins, installing pegboards for garage storage, and utilizing under-bed space. These strategies help maximize storage in various areas, from the laundry room to the porch, while maintaining an efficient floor plan. Homeowners can transform their living spaces with these practical DIY solutions.
Organize Closets With Shelves and Bins
Organizing closets with shelves and bins creates a streamlined storage solution that maximizes space efficiency. Homeowners can install adjustable shelving systems that adapt to changing storage needs, accommodating items of various sizes. By incorporating mirror-fronted cabinets, individuals can enhance the perception of space while providing functional storage.
Clear storage bins allow for easy identification of contents, reducing clutter and improving accessibility. Homeowners can label these bins to create a systematic organization method, particularly useful for seasonal items or rarely used possessions. This approach proves especially beneficial in closets near windows, where natural light can illuminate the organized space.
For closets with concrete walls, homeowners can consider installing floating shelves and wall-mounted storage units. This strategy maximizes vertical space and adds a modern architectural element to the room. By carefully planning the layout, individuals can create a custom storage solution that complements their home’s design:
- Install adjustable shelving for flexibility
- Use clear, labeled bins for easy identification
- Incorporate mirror-fronted cabinets to enhance space
- Mount floating shelves on concrete walls
- Maximize vertical storage with wall-mounted units
Install Pegboards for Versatile Garage Storage
Installing pegboards in garages offers versatile storage solutions for homeowners seeking to organize tools and equipment. These boards can accommodate various items, from power drills to landscape tools, maximizing vertical space and keeping floors clear. By strategically placing pegboards, individuals can create designated areas for different categories of items, improving efficiency and accessibility.
Pegboards provide flexibility in storage arrangements, allowing homeowners to adjust hook placements as their needs change easily. This adaptability is particularly useful for storing seasonal items or accommodating new tools. For enhanced functionality, homeowners can incorporate small drawers or shelves into the pegboard system, providing storage for smaller items like screws or vanity accessories.
To optimize pegboard installations, homeowners should consider integrating home automation features, such as motion-activated lighting. This addition enhances visibility and convenience when accessing tools. For a cohesive look, Pegboards can be painted to match garage decor or coordinate with chair colors in adjacent workspaces. A well-organized pegboard system transforms cluttered garages into efficient, functional areas:
Utilize Under-Bed Space With Storage Containers
Utilizing under-bed space with storage containers offers an effective solution for maximizing bedroom storage. Homeowners can select low-profile containers that fit beneath bed frames, providing ample space for storing seasonal clothing, extra linens, or infrequently used items. This approach keeps floors clear and prevents clutter accumulation, reducing the risk of mold growth in poorly ventilated areas.
When choosing under-bed storage containers, opt for options made from green building materials to align with eco-friendly home improvement practices. These containers can store brick samples or small tools for ongoing renovation projects, keeping them accessible yet out of sight. For those with deck renovations in progress, under-bed storage provides a convenient place to keep plans and material samples organized.
To optimize under-bed storage, homeowners should consider using vacuum-sealed bags for bulky items like spare couch cushions or winter blankets. This method saves space and protects stored items from dust and pests. Implementing a labeling system ensures easy retrieval of stored items when needed:
The house stood orderly, its contents neatly arranged. Outside, nature beckoned, offering a canvas for transformation.
Boost Curb Appeal With Outdoor DIY Projects

Boosting curb appeal through outdoor DIY projects can significantly enhance a home’s exterior. This section explores creating a low-maintenance garden, refreshing the front door with a new color, and adding outdoor lighting for safety and beauty. These projects can complement existing features like a well-maintained lawn or a newly installed ceiling fan on the porch, creating a cohesive and inviting exterior that increases property value.
Plant a Low-Maintenance Garden
Planting a low-maintenance garden enhances curb appeal while minimizing upkeep. Homeowners can incorporate drought-resistant plants that thrive with minimal watering, reducing the need for frequent irrigation. Selecting native species adapted to local climate conditions ensures the garden remains vibrant with minimal intervention.
To create defined spaces within the garden, consider using pavers or porcelain tile to construct pathways. These durable materials withstand outdoor conditions while providing a structured look. Integrate ceramic planters with low-maintenance succulents to add visual interest and texture without increasing maintenance requirements.
Incorporating decorative linen-wrapped poles or a small chandelier in an outdoor seating area can elevate the garden’s aesthetic. These touches add sophistication to the low-maintenance design, creating an inviting outdoor space that complements the home’s exterior. A well-planned, low-maintenance garden not only boosts curb appeal but also provides a serene environment for relaxation:
Refresh Your Front Door With a New Color
Refreshing the front door with a new color is a simple yet impactful way to boost curb appeal. Homeowners can coordinate the door color with existing landscape design elements to create a cohesive look. This DIY project complements exterior improvements, such as a kitchen diy renovation visible from the street, enhancing the home’s overall aesthetic.
Consider the home’s architectural style and exterior palette when selecting a new door color. Bold colors can make a statement, while neutral tones offer timeless elegance. This project aligns well with other DIY kitchen remodel ideas, allowing homeowners to create a unified theme from the exterior to the interior of their home.
Proper preparation is critical to achieving a professional finish. Sanding, priming, and using high-quality exterior paint ensure durability and a smooth appearance. This attention to detail mirrors the care taken in DIY small bathroom remodel projects, where every surface counts. A freshly painted front door enhances curb appeal and sets the tone for the home’s interior design scheme.
Add Outdoor Lighting for Safety and Beauty
Adding outdoor lighting enhances safety and aesthetic appeal for homeowners undertaking DIY projects. Strategic placement of lights along pathways and near entryways improves visibility, reducing the risk of accidents. This safety measure aligns with other home improvement efforts, such as bathroom remodel DIY ideas, by prioritizing functionality alongside visual appeal.
Landscape lighting can highlight architectural features and garden elements, creating a welcoming ambiance. Homeowners can incorporate solar-powered lights into their diy garage renovation plans, seamlessly blending energy efficiency with curb appeal enhancement. These lights require minimal maintenance and can be easily repositioned to accommodate changing outdoor layouts.
For those considering a DIY bathroom remodel on a budget, outdoor lighting offers a cost-effective way to extend living spaces into the evening hours. Installing adjustable fixtures allows homeowners to create different lighting scenes, complementing various outdoor activities. This versatility mirrors the adaptability sought in remodel closet DIY projects, maximizing the utility of outdoor areas:
Conclusion
Easy DIY home makeovers offer homeowners a cost-effective way to transform their living spaces without extensive renovations. These projects provide significant visual impact and functional improvements, from refreshing walls with new paint to updating lighting fixtures and revamping furniture. By incorporating creative storage solutions and enhancing curb appeal, homeowners can increase their property’s value and enjoyment. These DIY techniques empower individuals to personalize their homes, creating spaces that reflect their style while improving overall functionality and aesthetics.

